How to Change the Scale of a Worksheet in Excel
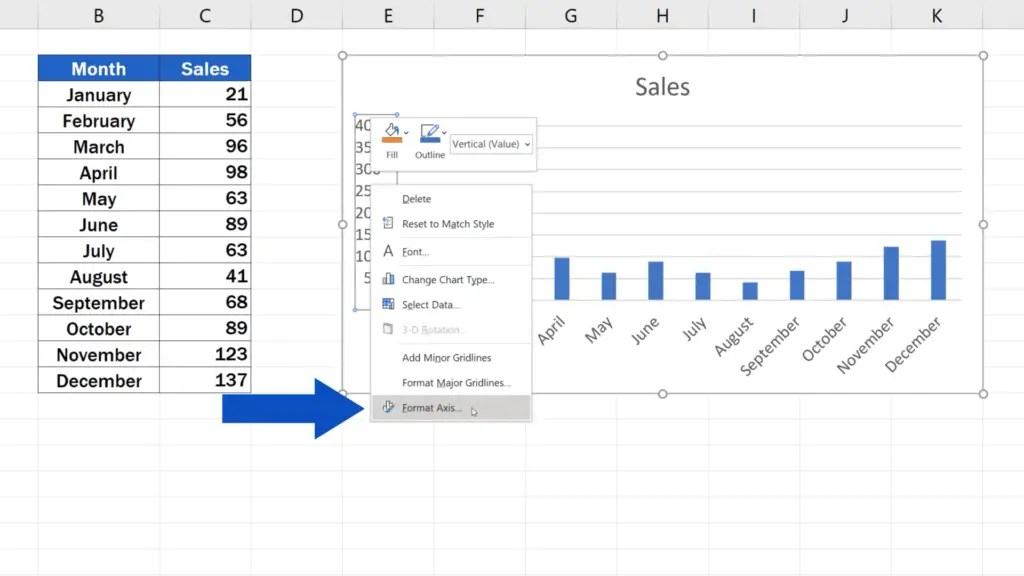
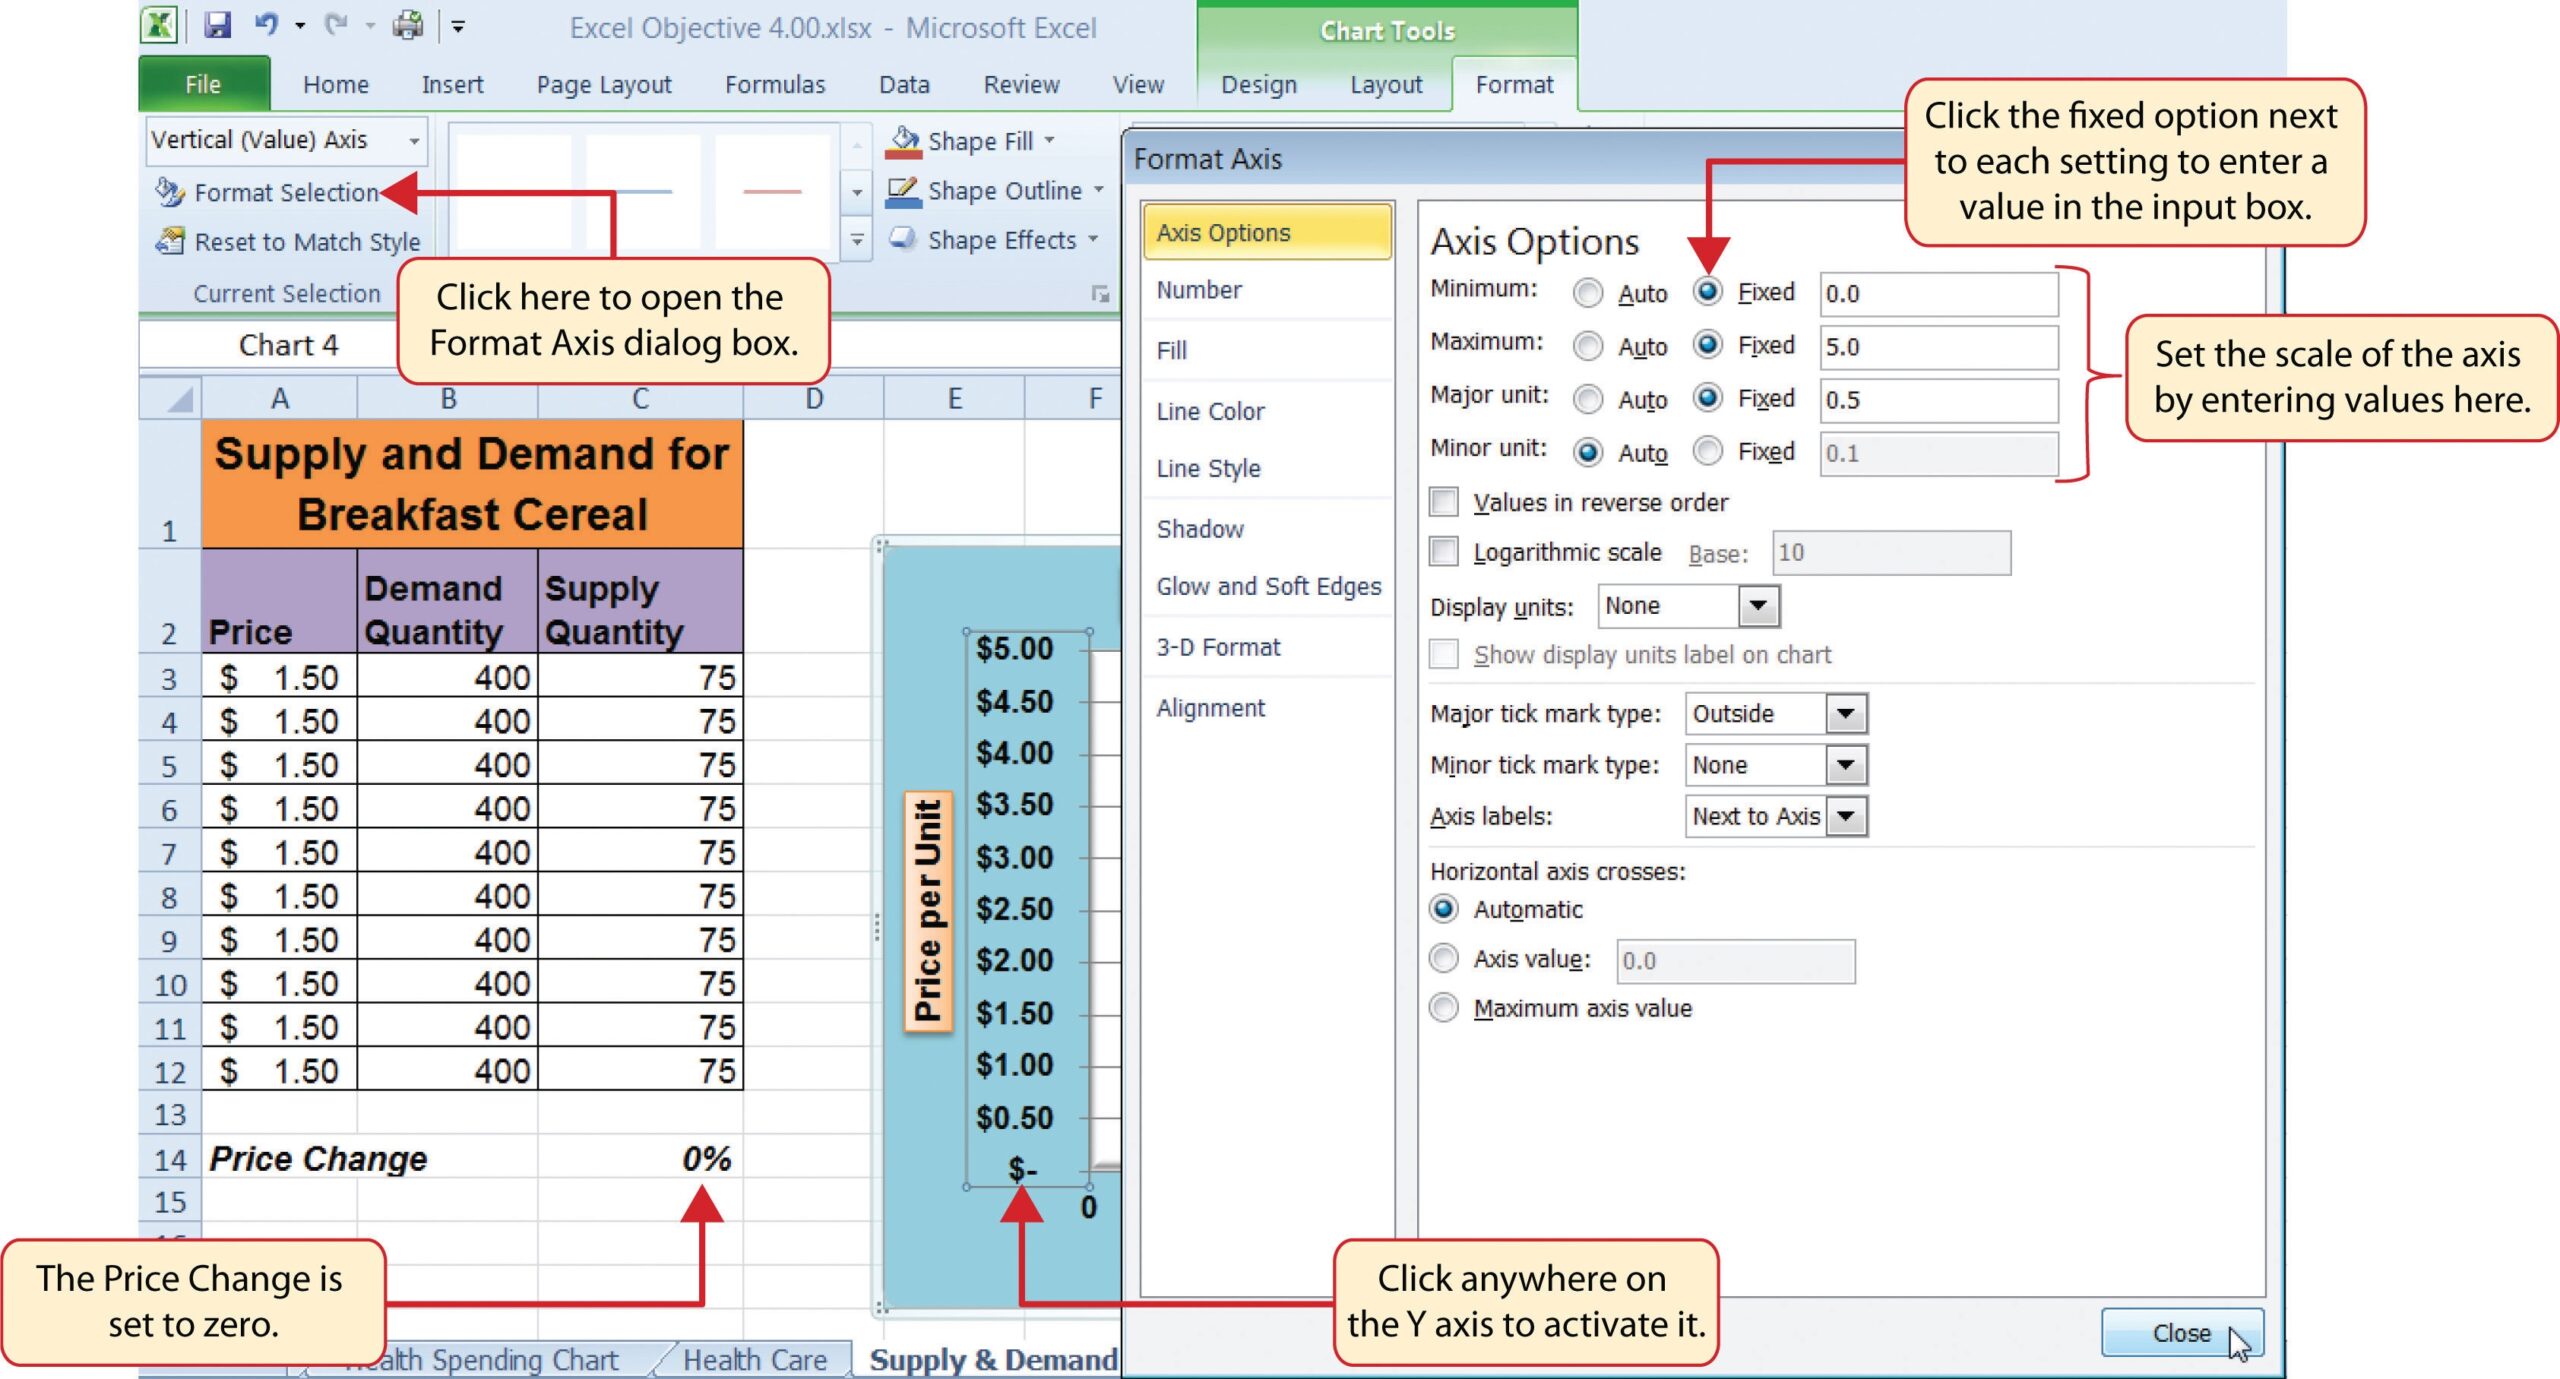
Excel is a powerful tool for creating spreadsheets, but sometimes you may need to change the scale of your worksheet to fit more information onto a page. This can be useful for printing or sharing your data with others. Fortunately, Excel makes it easy to adjust the scale of your worksheet to meet your needs.
In this article, we will discuss how to change the scale of a worksheet in Excel so that you can make the most of your data and create professional-looking spreadsheets.
Step-by-Step Guide:
1. Open your Excel worksheet that you want to change the scale of.
2. Go to the “Page Layout” tab on the Excel ribbon.
3. Click on the “Scale to Fit” group.
4. In the “Width” box, enter the number of pages wide you want your worksheet to be.
5. In the “Height” box, enter the number of pages tall you want your worksheet to be.
6. Click on the “Print Titles” option to set up print titles for your worksheet.
7. Click on the “Margins” option to adjust the margins of your worksheet.
8. Click on the “Orientation” option to change the orientation of your worksheet to either portrait or landscape.
Once you have completed these steps, your worksheet will be scaled to your desired dimensions, making it easier to print and share with others.
In conclusion, changing the scale of a worksheet in Excel is a simple process that can help you make the most of your data. By following the step-by-step guide outlined in this article, you can easily adjust the scale of your worksheet to fit your needs. Whether you are printing your worksheet or sharing it electronically, changing the scale can help you create professional-looking spreadsheets that are easy to read and understand.
